Usage
The *.ovpn file you download contains both your VPN configuration as well as your private key and certificate
and can be used to connect to the VPN.
Please keep the file in a secure location and contact an
administrator in case your certificate was compromised!
Linux (Command Line)
Install openvpn:
sudo apt install openvpnLoad the *.ovpn file (sudo may be required):
openvpn *.ovpnYou will have access to the VPN as long as you don't stop the openvpn process
(Ctrl+C or close the terminal). Note that DNS settings will not necessarily be
applied with this method. If you want to resolve other hosts in the VPN, add 10.141.0.1
as a DNS server to your network configuration.
Linux (Network Manager)
Install the OpenVPN module for the NetworkManager:
sudo apt install network-manager-openvpnIf you are using Gnome as your desktop, you may also want to install
sudo apt install network-manager-openvpn-gnomeImport the *.ovpn file with
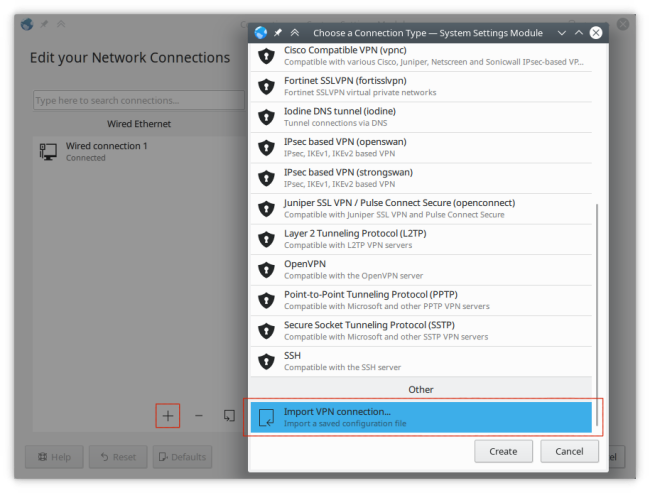
nmcli connection import type openvpn file *.ovpnYou can also import it via a NetworkManager GUI frontend by adding a new connection and choosing Import VPN connection... (screen shot taken on KDE, Gnome differs slightly).
Now use your desktop's NetworkManager applet in the tray to activate the VPN connection.
Important: Due to a bug feature in NetworkManager, you may experience that
you cannot access anything except the University network after activating the VPN.
If that is the case, edit the VPN connection, click IPv4 and then Routes.
Check the box for Use only for resources on this connection (or similar).
You can also change this option on the command line:
nmcli connection modify "Connection Name" ipv4.never-default truewhere "Connection Name" is the name of your VPN connection (defaults to the name
of the *.ovpn file, but you can change it to whatever you like).
Windows
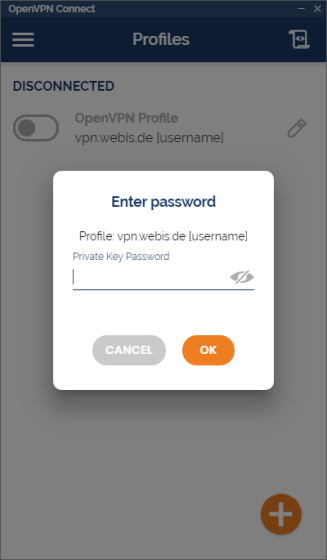
Download OpenVPN Connect for Windows, install and start it. Then click File and select your *.ovpn file. In the following dialog make sure all information is correct and then click Save. When the file has been imported successfully, click the toggle button to activate the VPN and enter your chosen password to decrypt your private key.
Afterwards, you can safely close the window. OpenVPN will keep running in the background and can be accessed at any time from its icon in the system tray in the bottom right corner. From there you can also easily connect and disconnect via the right-click context menu.
macOS
On macOS, you can download OpenVPN Connect for Mac OS. For usage instructions, please refer to the Windows section above.
If preferred, you can also use the open-source software Tunnelblick instead of the official macOS client. For further information, please refer to the Tunnelblick documentation.
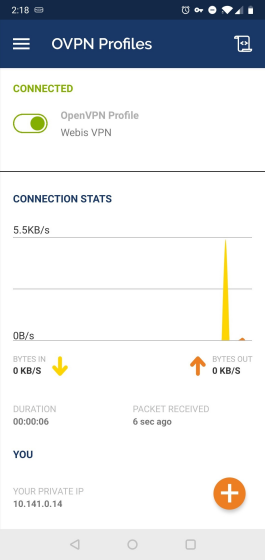
Android / iOS
Download OpenVPN Connect from the Google Play Store or Apple App Store, click the OVPN Profile button (or the little "+" icon at the bottom) and select the *.ovpn file from your phone's storage. After activating the connection for the first time, you have to confirm that OpenVPN may add itself as a VPN to your system. Please note that no two VPNs can run at the same time on both Android and iOS.